
Last updated November 21, 2026
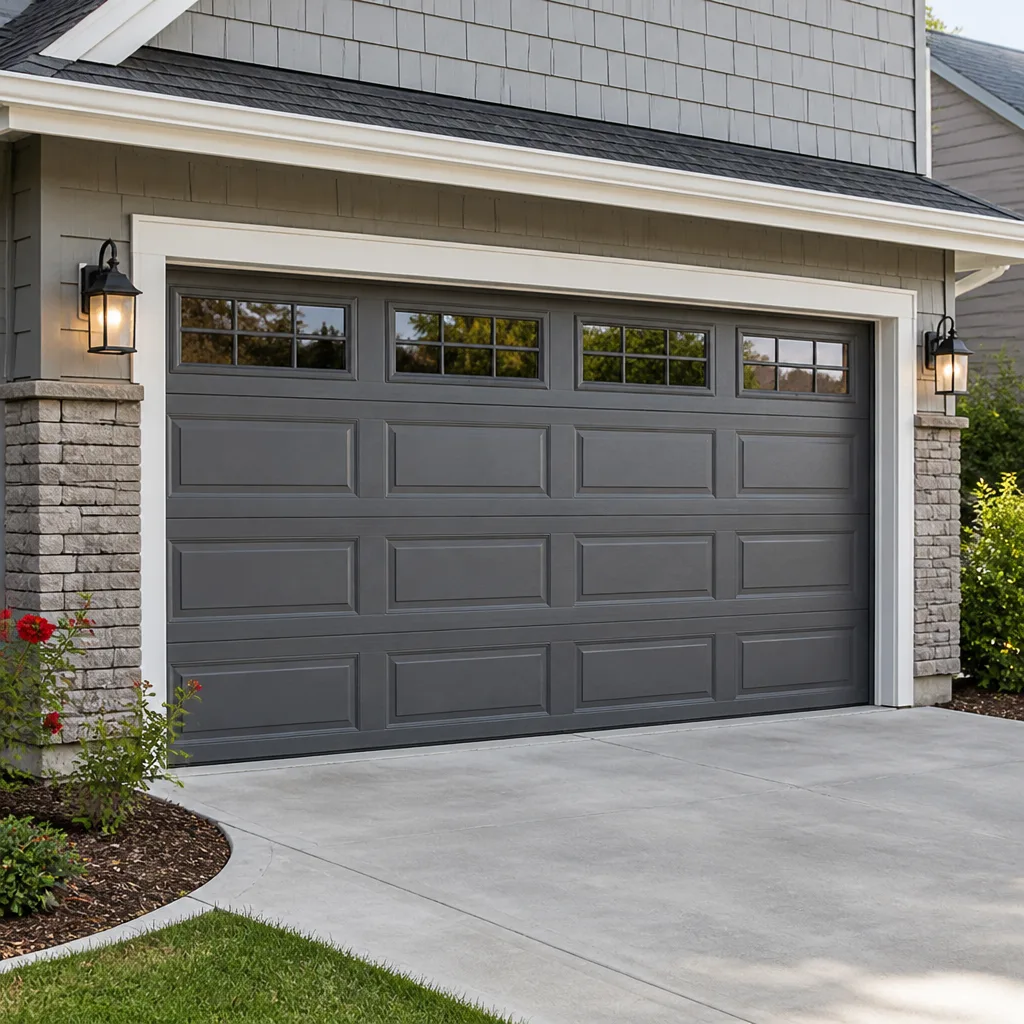 Raised-panel steel
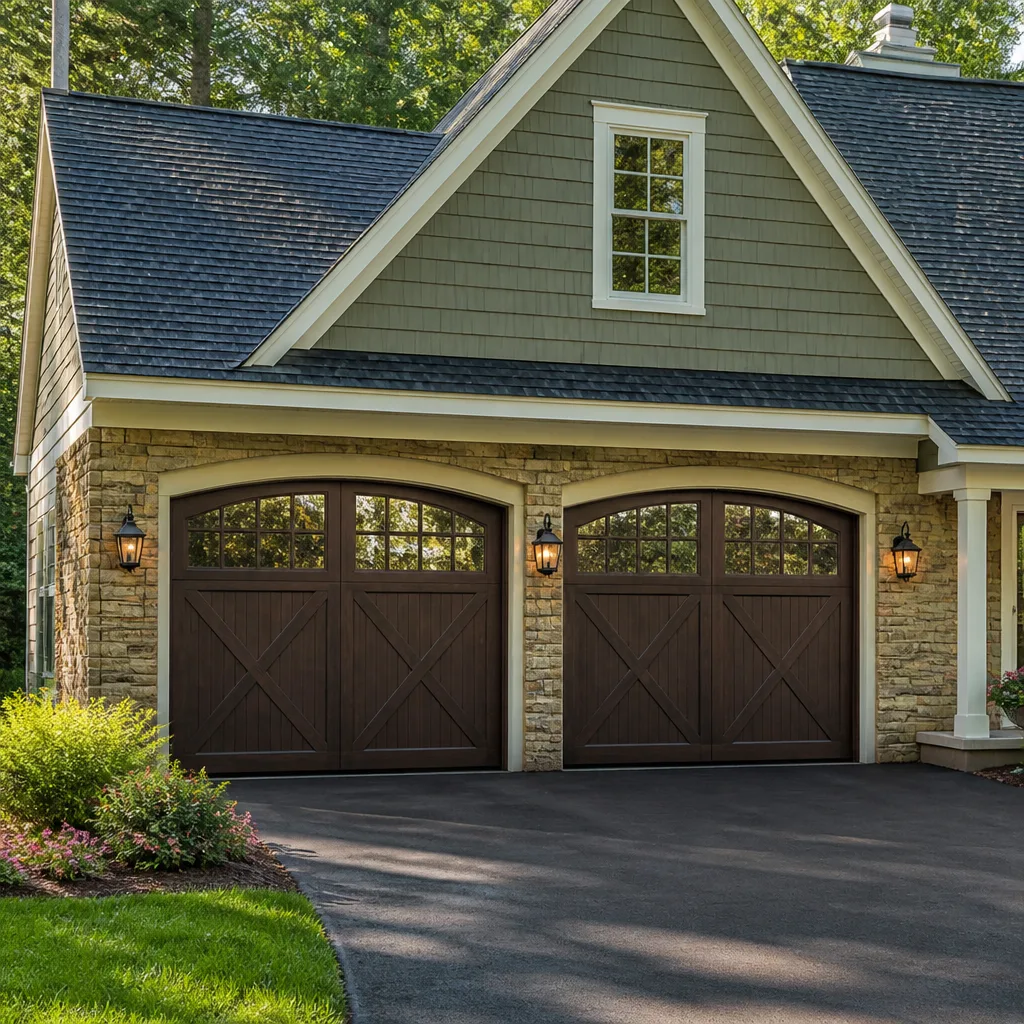 Carriage house
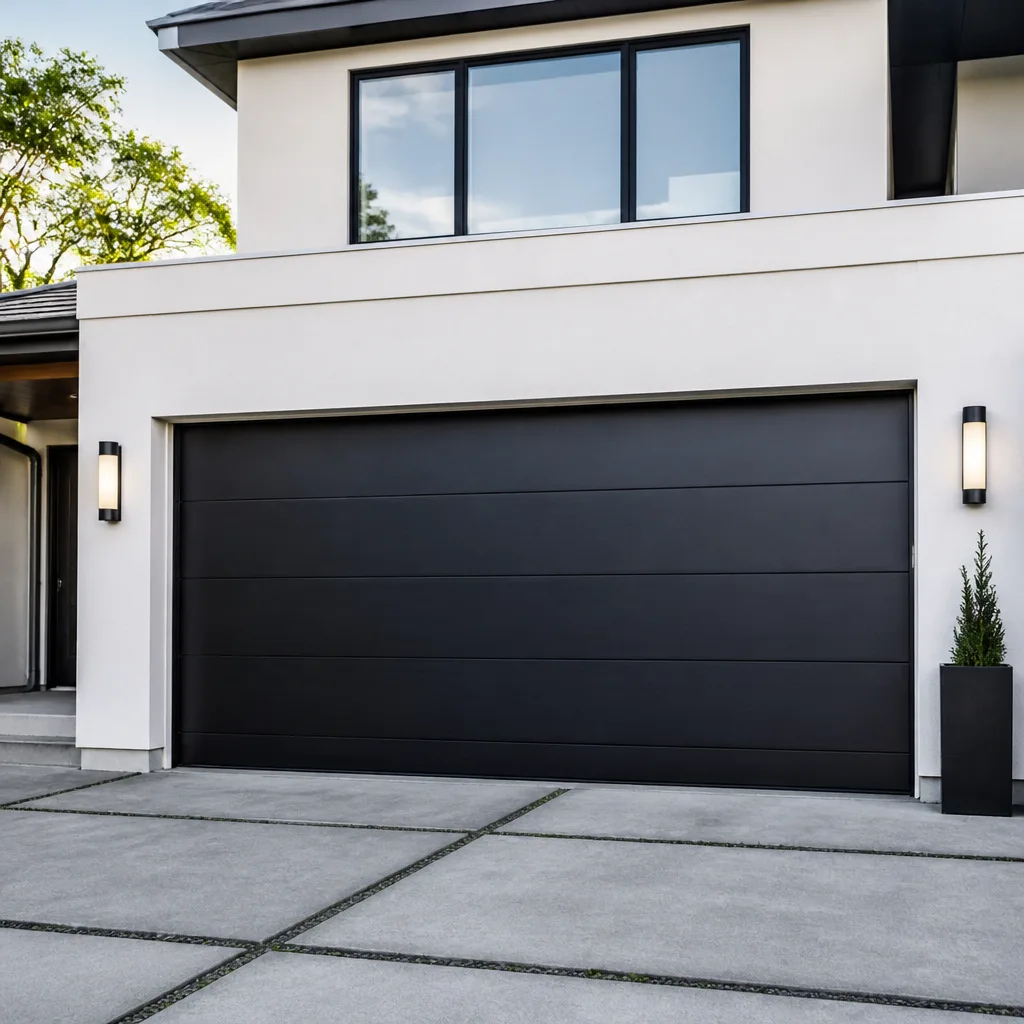 Modern flush
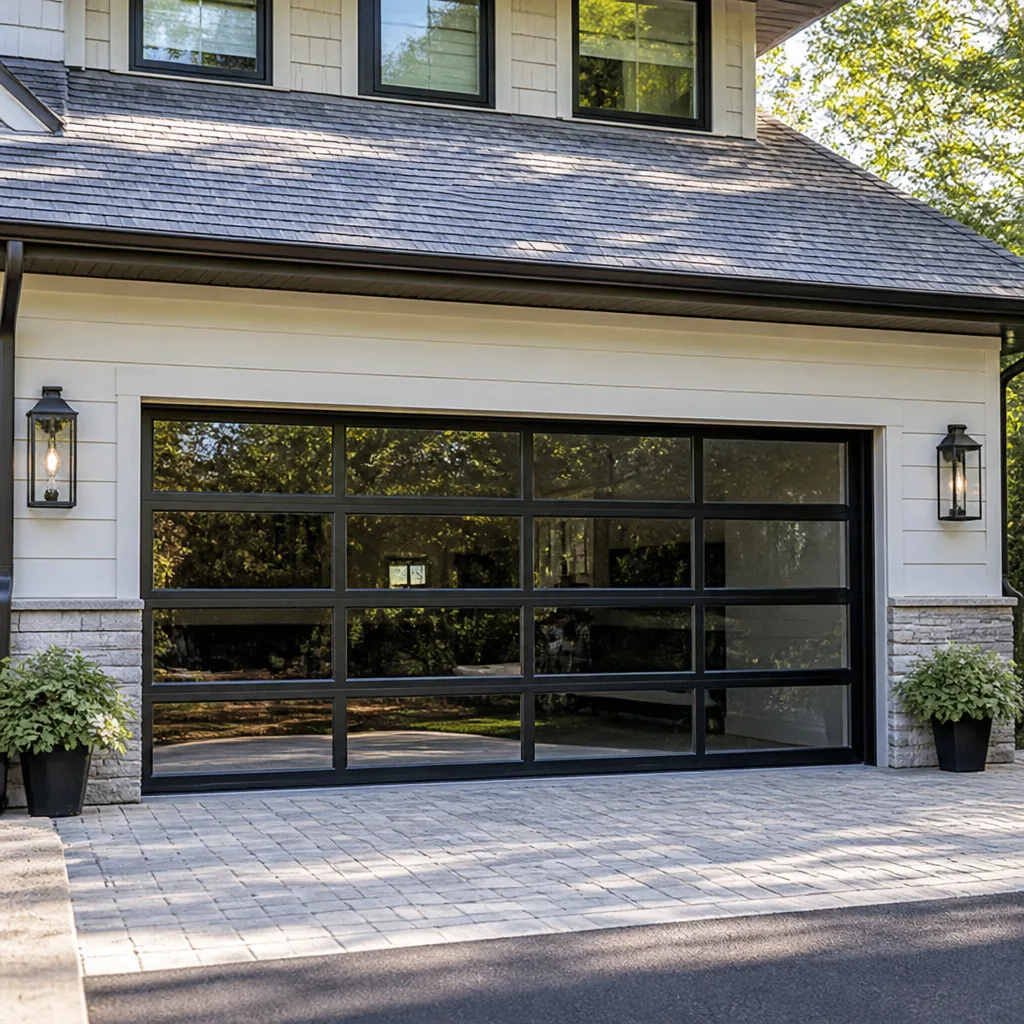 Full-view glass
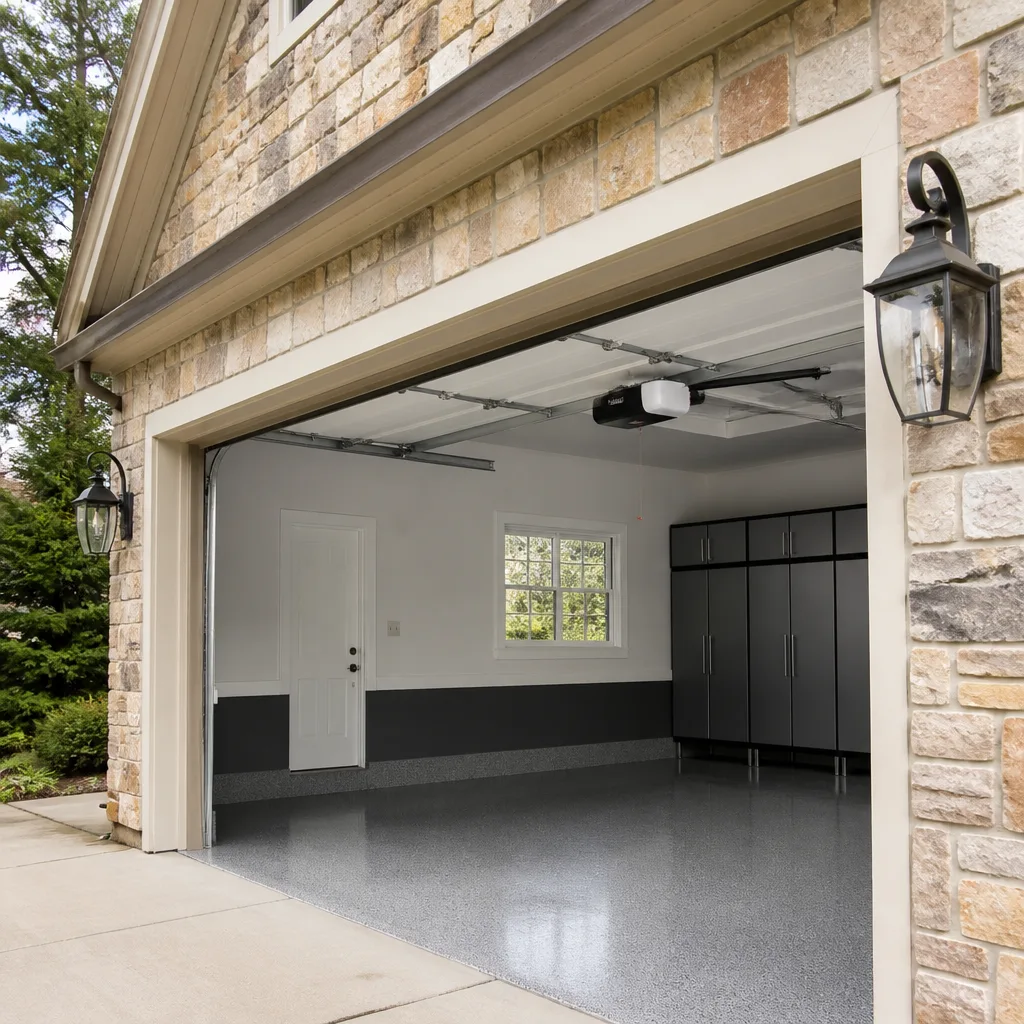 LiftMaster openers
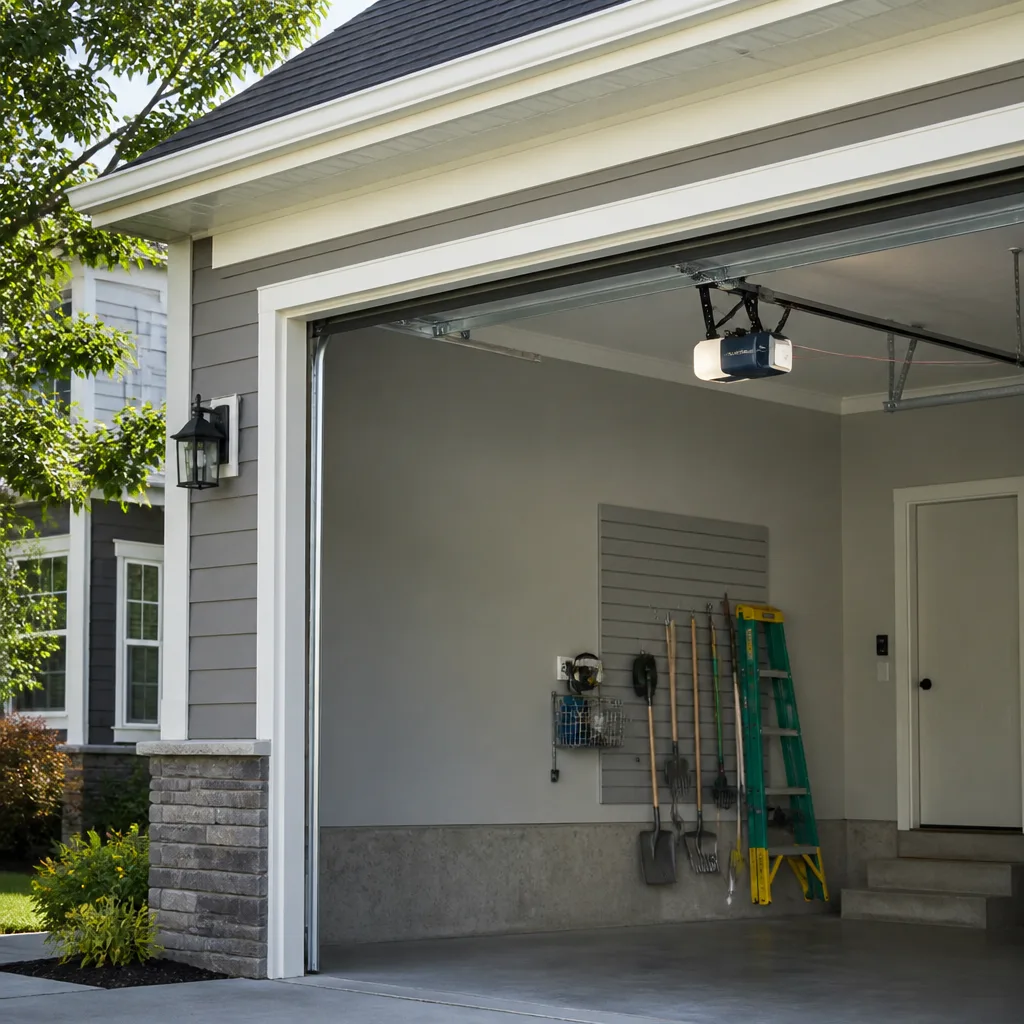 Chamberlain openers
Full 25-point door and opener safety check with every visit - springs, cables, rollers, tracks, and your LiftMaster or Chamberlain opener included
You get a price before we start. It does not change when the pro arrives.
Get your free estimateGarage Door Repair Maintenance Checklist for Rhawnhurst Homeowners
Most Rhawnhurst homeowners call for emergency garage door service after something breaks, and most of those breakdowns gave months of warning first. A frayed cable doesn’t snap without fraying first. A torsion spring doesn’t crack without losing tension first. The reason people call us at the worst moment is usually that nobody was looking for the early signs. That’s what this guide is for.
What follows is a prioritized checklist, ordered by how likely each component is to fail and how much damage it does when it does. It’s not a random list of things to spray with lubricant. Work through it in this order and you’ll catch the problems that actually lead to emergency calls in Rhawnhurst. We’ll cover the balance test, spring and cable inspection, lubrication schedules, photo-eye checks, and what to re-check after a Philadelphia-area winter.
Quick Answer
A garage door maintenance checklist should be worked in priority order: balance test first (it catches spring fatigue early), then cable and roller inspection, then lubrication, then photo-eye and safety-reverse testing. Homeowners can safely do the balance test, visual inspection, lubrication, and sensor cleaning themselves. Spring replacement, cable replacement, and any work involving torsion hardware should always go to a trained technician, because those components are under extreme tension and can cause serious injury.
If your door is already stuck, off its tracks, or making a loud bang noise, skip the checklist and call (877) 492-3530. We answer 24/7. Fast dispatch from 7am to 7pm, Sunday through Friday.
Styles & brands we work with
- Raised-panel steel
- Carriage house
- Modern flush
- Full-view glass
- LiftMaster openers
- Chamberlain openers
Table of Contents
- The Balance Test: Your First Line of Defense
- Spring Inspection Before Failure
- Cable Inspection for Single-Car Doors
- Lubrication: Which Product Goes Where
- Photo-Eye and Safety-Reverse Checks
- Seasonal Adjustments for Philadelphia Winters
- Your Monthly and Annual Schedule
- When to Call a Professional
The Balance Test: Your First Line of Defense
The balance test is the single most useful thing a homeowner can do, and almost nobody does it. It takes about two minutes, requires no tools, and it can reveal a spring that’s lost tension months before it fails completely. A door that’s out of balance is telling you a spring is wearing out, and a spring that wears out all the way snaps. That snap is what most emergency calls are about.
Here’s how to run the test:
- Close the door and disconnect the opener using the manual release cord (usually a red handle hanging from the trolley).
- Lift the door by hand to about waist height, then let go.
- A balanced door should stay roughly where you left it, maybe drifting a few inches.
- A door that drops fast, or rises on its own, is out of balance and needs a spring assessment.
- Reconnect the opener only after the door is fully closed.
Do this once a month. In Rhawnhurst, where many homes have single-car garages with older doors, we see balance issues develop slowly and go unnoticed because the opener is strong enough to muscle the door up and down anyway. The opener works harder, the motor wears faster, and the spring keeps losing tension until it fails. Catching it in the balance test means you’re scheduling a repair on your terms instead of calling an emergency line with a car trapped inside.
If the door won’t hold at waist height, stop and call us. Don’t try to adjust the springs yourself. That’s the safety line.
Spring Inspection Before Failure
Springs are a safety issue, not just a repair. They store enormous energy, and a spring that fails under load releases all of it at once. That’s why this is the section where we ask you to look but not touch. What you can do safely is inspect with your eyes and ears, and a visual check monthly is worth the thirty seconds it takes.
There are two spring types on residential doors, and they fail differently:
- Torsion springs mount horizontally above the door on a metal shaft. They usually fail with a loud bang when a coil cracks. Look for a visible gap in the coil.
- Extension springs run along the horizontal tracks on either side and stretch as the door closes. They often fail at the end loops, where the metal hooks through. Look for stretched-out coils and worn end loops.
A torsion spring under load is dangerous to touch, and we mean that literally: it’s under enough tension to take a finger or worse if it releases while your hand is near it. Extension springs are less dramatic but can still whip when they let go. So a homeowner inspection is visual only. Note the color code painted on the torsion spring (it tells a technician what size spring you have), check the extension spring coils for gaps and stretch, and listen.
If you hear a loud crack from the garage, open a door that suddenly feels heavier than usual, or see a gap in a torsion coil, the spring has likely failed. On a Wayne Dalton or Craftsman setup, the door may still open with the opener for a few cycles before the motor gives up, which is why we tell Rhawnhurst callers not to keep running it. Torsion and extension spring work is something we handle directly, and it’s the most common reason we get called. Call (877) 492-3530 and we’ll get a trained technician out.
Cable Inspection for Single-Car Doors
Cables are the piece most homeowners forget, and on a single-car door they’re often the second thing to fail after the spring. A cable runs from the bottom bracket up through a pulley and back to the drum or anchor. It carries the full weight of the door along with the spring. When a strand frays, the cable gets weaker each cycle, and the failure eventually comes as a snap that drops one side of the door. That’s an emergency, not a scheduled repair.
Check both cables monthly with the door closed, and look for these warning signs:
- Fraying at the bottom bracket. The cable bends sharply there every cycle. Frayed strands look like a worn rope.
- Uneven pulley wear on single-car doors. With only one door and two tracks, the pulleys at the top of each side wear at slightly different rates. One pulley may show a groove or a wobbly edge while the other looks fine. If the door lifts unevenly or one side hangs lower, a worn pulley could be the cause.
- Rust or kinks. Kinks in the cable itself are a sign of stress or a misaligned drum.
- A cable lying loose. If you see slack in a cable, stop using the door and call a professional. That means the cable has come off its drum and the door is not safely supported.
A frayed cable is one of the specific things we’re looking for on every service visit because it’s so easy to miss and so consequential when it goes. Cables are under high tension and live near the spring hardware, so this is not a do-it-yourself swap. If you spot fraying, book garage door repair before the cable fails completely. That’s a scheduled repair instead of a stuck car.
Lubrication: Which Product Goes Where
The right lubricant in the right place makes a door quiet and extends the life of the moving parts. The wrong lubricant in the wrong place attracts grit and makes things worse. This is where most garage door maintenance advice goes wrong, so here’s the product-by-product breakdown.
What to use where
- Rollers and hinges: white lithium grease or a silicone-based lubricant. Apply to the roller stem and the hinge pivot points, not the roller itself or the track.
- Tracks: nothing oily. Tracks should be wiped clean with a damp cloth and left dry. Lithium grease or oil on a track collects dust and grit, and the roller then grinds it against the rail. Use a light silicone spray only if a track is genuinely stiff, and wipe off the excess.
- Torsion spring coils: a light coat of silicone spray reduces friction between coils and cuts noise. This is the only spring-related thing a homeowner should do, and it’s just spray, no tools, no turning.
- Weatherstripping and seals: silicone spray keeps rubber from drying out and cracking, which matters in Philadelphia’s cold, dry winters.
What to skip
Skip heavy grease on the tracks, skip WD-40 as a long-term lubricant (it’s a solvent, not a grease), and skip anything on the photo-eye lenses. A greasy sensor lens scatters the beam and creates false obstructions.
Once a season is plenty for most Rhawnhurst homes. If you’re running a LiftMaster operator on a busy door, once a month on the hinges and rollers is reasonable. It takes ten minutes and keeps the door quiet.
Photo-Eye and Safety-Reverse Checks
The photo-eye and safety-reverse systems are the two safety features that keep a closing door from crushing something in its path. They’re also the most common source of no-op calls we get, because a sensor that’s out of alignment, dirty, or blocked will stop a door from closing and leave a homeowner thinking the opener is dead. The good news is that most of this is a homeowner check.
What you can check yourself
- Find the two photo-eye sensors at the bottom of each track, about six inches off the floor.
- Wipe both lenses with a dry or slightly damp cloth. Dust, spiderwebs, and lawn debris are the usual suspects.
- Look for the small indicator light on each sensor. Most brands (LiftMaster and Chamberlain most commonly) show a steady light when the beam is clear and a flashing or off light when it’s blocked.
- If one light is off, gently adjust the sensor bracket until both lights are steady and facing each other. Do this with the door fully open.
- Test safety reverse: place a roll of paper towels or a 2×4 flat on the floor in the door’s path, then close the door with the opener. It should reverse within a couple of inches.
What needs a technician
If the door closes on the object and keeps going, or reverses before it reaches the object, the force limits or travel settings need recalibration. That’s opener-specific: LiftMaster, Chamberlain, Genie, and Craftsman each have their own adjustment procedure, and Raynor and Wayne Dalton operators can be different again. A technician who works with your brand regularly knows the setting without a manual. That’s garage door opener repair, and it’s not something we’d recommend adjusting blind. A miscalibrated force limit is a safety issue.
Seasonal Adjustments for Philadelphia Winters
A Rhawnhurst garage takes a real beating from freeze-thaw cycles. Winter brings the kind of cold that tightens metal, hardens grease, and stresses every seal on the door, and then the thaw loosens everything back up. The hardware doesn’t fail in the freeze. It fails when the freeze lets go and the door cycles back to normal load. That’s why a fall check and a spring check are worth doing.
What to re-check after a Philadelphia-area winter:
- Balance test again. Cold-weather cycling can wear a spring faster. If the door was balanced in October and out of balance in March, that’s a spring on its way out.
- Weatherstripping. The bottom seal and side seals harden and crack in cold. A cracked bottom seal lets cold air and water into the garage all year. Check it with a firm push; it should feel pliable, not brittle.
- Track alignment. Freeze-thaw can shift a slab slightly and knock a track out of plumb. A door that binds or scrapes at one height is a sign.
- Hinge screws and bolts. Vibration loosens them over years. Give each one a quarter-turn with a screwdriver if it’s loose.
- Rollers. Steel rollers can rust on an old door. Nylon rollers hold up better. If yours look worn flat on one side, replacement is straightforward.
Rhawnhurst homes tend to have detached or semi-detached garages, and those take cold on more sides than an attached garage. The seal and weatherstrip check matters more here than on a garage sharing three walls with the house.
Your Monthly and Annual Schedule
Here’s the checklist in schedule form. If you do only the monthly items, you’ll catch most of the failures that lead to emergency calls. The annual items catch the rest.
Monthly (about 10 minutes)
- Balance test with the door disconnected from the opener.
- Visual spring inspection, torsion and extension.
- Visual cable inspection, especially at the bottom bracket.
- Photo-eye cleaning and indicator light check.
- Safety-reverse test with an object in the door’s path.
- Listen for grinding, popping, or scraping while the door cycles.
Annually
- Lubricate rollers, hinges, and spring coils (silicone or white lithium on the moving parts, dry tracks).
- Check weatherstripping and replace if it’s brittle or cracked.
- Tighten loose hinge and bracket bolts.
- Check track alignment with a level if the door binds.
- Cycle the door a few times and note any change in sound or speed.
- If you have a belt-drive or chain-drive opener that’s more than a few years old, test the auto-reverse on the opener itself by pressing the wall control and watching it stop and reverse.
Note the details you find, especially on springs. If your torsion spring has a color code and you know how many cycles it’s done, a technician can give you a much more accurate estimate on a replacement than if you call with a door that just stopped working. Our technicians have up to 14 years of experience, and the more you can tell them, the faster the diagnosis.
If the checklist turns up something that needs a new door instead of a repair, we handle garage door installation as well. That’s part of what “garage door specialists” means to us: you don’t get handed off when a repair turns out to be a replacement.
Common Mistakes to Avoid
- Greasing the tracks. It feels right, but oil on a track collects dirt and sands down the rollers. Tracks stay dry. Wipe them clean, don’t lube them.
- Skipping the balance test because the opener “works fine.” The opener masks a weakening spring. If the door is out of balance, the opener is working harder than it should and the spring is closer to breaking than you think.
- Adjusting the torsion spring yourself. This is the most dangerous part of any garage door. A torsion spring under load can cause serious injury. Any work that requires tools on the spring shaft is a technician job, period.
- Ignoring a faint rattle from the bottom of the door. That rattle is usually a fraying cable or a loose bracket. On a single-car door with extension springs, a cable that lets go drops the door on one side and can twist the frame.
- Replacing one extension spring when the pair is worn. Extension springs are matched. If one is stretched and the other is original, the door lifts unevenly and the newer spring takes more load. Replace the pair, not one.
- Using the opener to test a door that’s clearly stuck or off-track. If a door is off its tracks or visibly damaged, cycling the opener can bend panels, strip the trolley, or burn out the motor. Stop, and call.
- Putting off a sensor recalibration after a change in the door’s path. If you’ve added a car, a bike rack, or a storage shelf near the sensors, have the alignment rechecked. A false obstruction is annoying; a real one is a safety problem.
Avoiding these seven mistakes is most of what separates a door that lasts from a door that gets a spring replacement or an emergency call in Rhawnhurst. For the safety ones, a technician’s eyes save you time and trouble. For everything else, the monthly checklist handles it. If you’d rather have a professional look at the whole system once and set a baseline, we do that.
See the difference
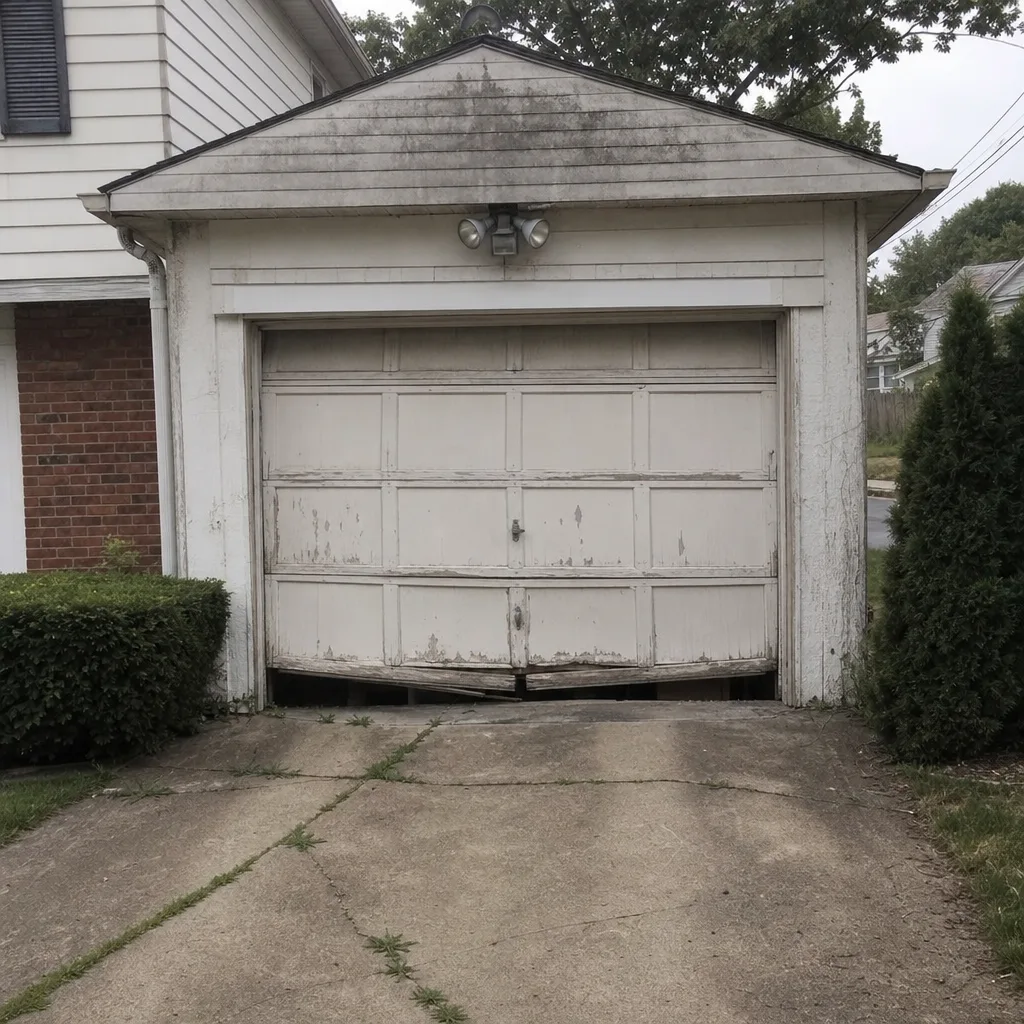 Before
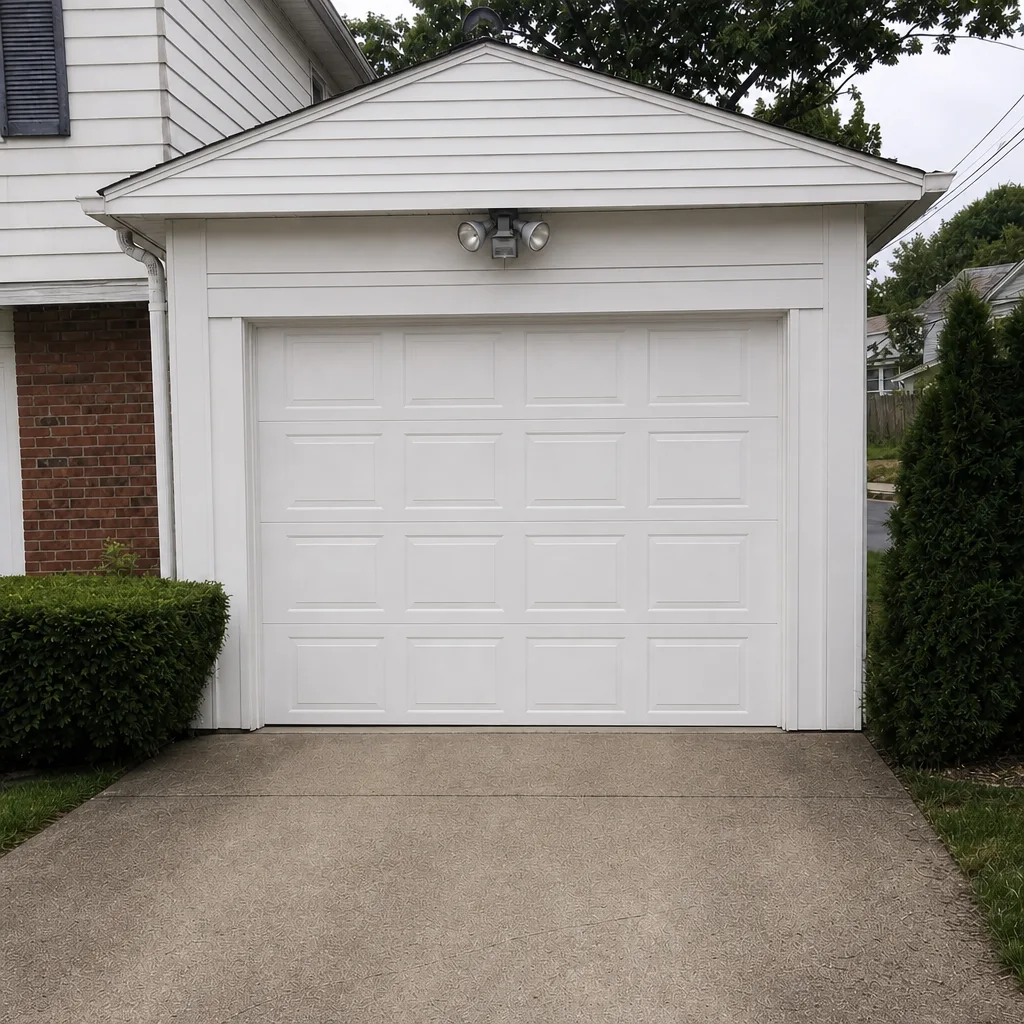 After
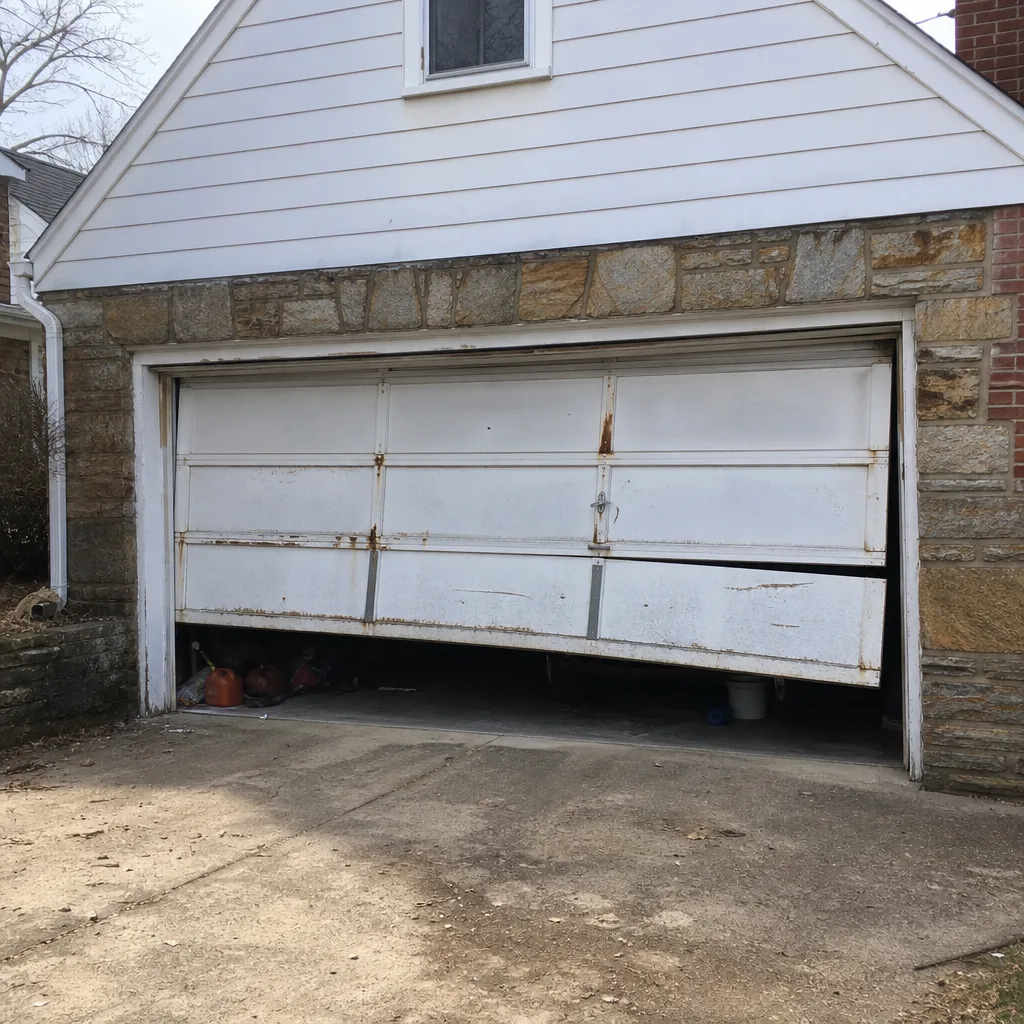 Before
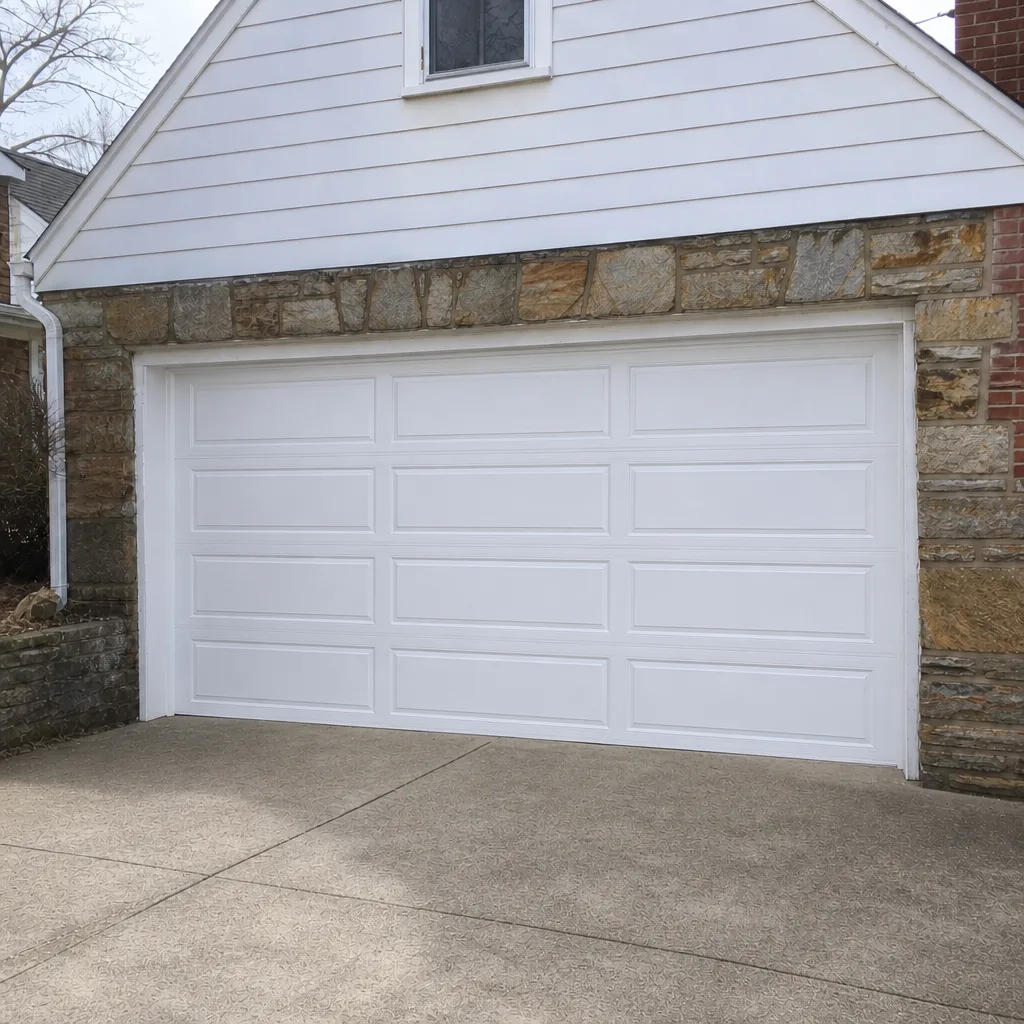 After
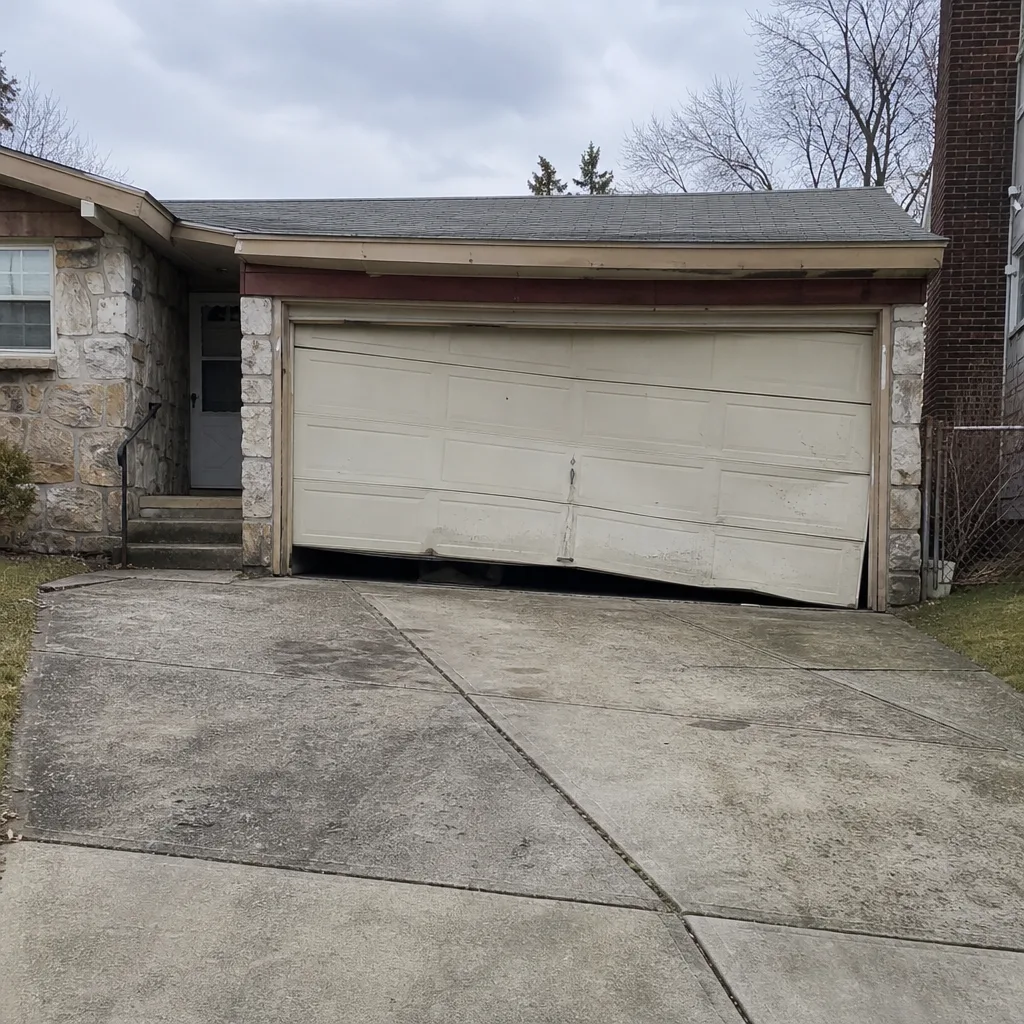 Before
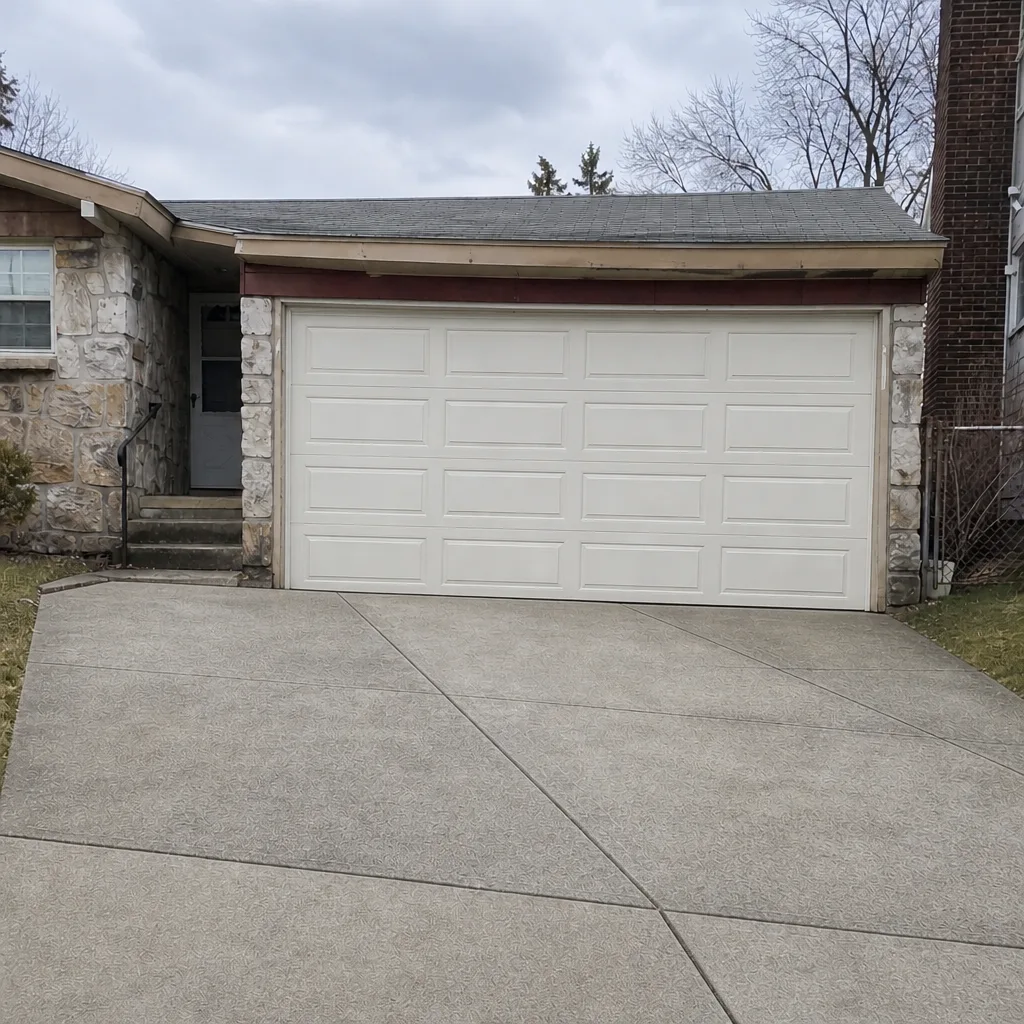 After
When to Call a Professional
Call a professional when any of these apply: the door is off its tracks, a cable is slack or frayed, you hear a loud crack from the spring area, the door drops fast in the balance test, the opener runs but the door doesn’t move, the photo-eye recalibration doesn’t hold, or a panel is bent or cracked. Those are either dangerous to handle yourself or they require opener-specific calibration that changes with the brand. Stuck open or stuck closed, we treat it as an emergency. Garage Door Repair Rhawnhurst offers free estimates in Rhawnhurst, so call (877) 492-3530 before the next cycle makes things worse. We answer 24/7. Fast dispatch from 7am to 7pm, Sunday through Friday, and the price is set per job by the written estimate before any work starts. If you’d rather see the full range of what we handle before you call, our main Garage Door Repair Rhawnhurst page has it laid out.
Frequently Asked Questions
Once a month for the balance test, visual inspection, and photo-eye check, and once a year for lubrication, weatherstripping, and tightening hardware. A monthly check takes about ten minutes and catches the failures that cause most emergency calls. In Rhawnhurst, add a spring inspection after the last freeze in spring, since the freeze-thaw cycle stresses springs all winter.
Spring repair is quoted per job after a technician inspects the door, so the written estimate is the number that matters. We can’t give a fixed price without seeing the door and the spring condition, and we don’t believe in quoting over the phone on the most dangerous component on the door. Call (877) 492-3530 for a free estimate.
No. Torsion springs are under extreme tension and can cause serious injury if they release while you’re working on them. Any lift of the door, or any measurable heat or resistance from the spring, is a sign to stop. A trained technician has the tools to de-tension the spring safely, and that’s not a homeowner job. Visual inspection and silicone spray on the coils is as far as a homeowner should go.
It tells you whether the springs are still doing their job. A balanced door stays at about waist height when you let go. A door that drops fast or rises on its own has lost spring tension, and a spring that’s lost tension is closer to failing. Run the test monthly with the opener disconnected.
Yes, usually. Wipe the lens and adjust the bracket until both lights are steady. If that doesn’t hold, or the door reverses before it should, the force limits need recalibration. That’s brand-specific, and a technician who works with LiftMaster, Chamberlain, or your operator regularly can set it correctly in a single visit. Call (877) 492-3530 for a free estimate if you want a professional check.
Yes. Re-run the balance test, check the weatherstripping for cracks, and look at track alignment. Freeze-thaw cycles in the Philadelphia area shift the slab and stress hardware, and most of the failures we see show up in the first few weeks after a thaw. A spring or cable that survived the winter with no checks is the one most likely to fail on the first warm-week cycles. Call (877) 492-3530 for a free estimate on anything the inspection turns up.
The Bottom Line
A maintenance checklist isn’t about spraying lubricant and calling it done. It’s a sequence: balance test first, spring and cable inspection next, lubrication third, safety sensors fourth. In Rhawnhurst, the monthly routine catches the two or three failures that cause most emergency calls, and the fall check catches the rest before the winter. If you remember nothing else, remember this: if the door drops in the balance test or you see a gap in a spring coil, stop using the door and call a technician. Everything else on this list is home-routine material, and one professional check a year will keep you well ahead of it. That’s a written estimate before any work starts, and it’s what a dedicated garage door specialist is for.
Call (877) 492-3530. We answer 24/7. Fast dispatch from 7am to 7pm, Sunday through Friday, and closed Saturday. Free estimates, and the price is quoted and agreed before any work starts.
Written by the team at Garage Door Repair Rhawnhurst.